
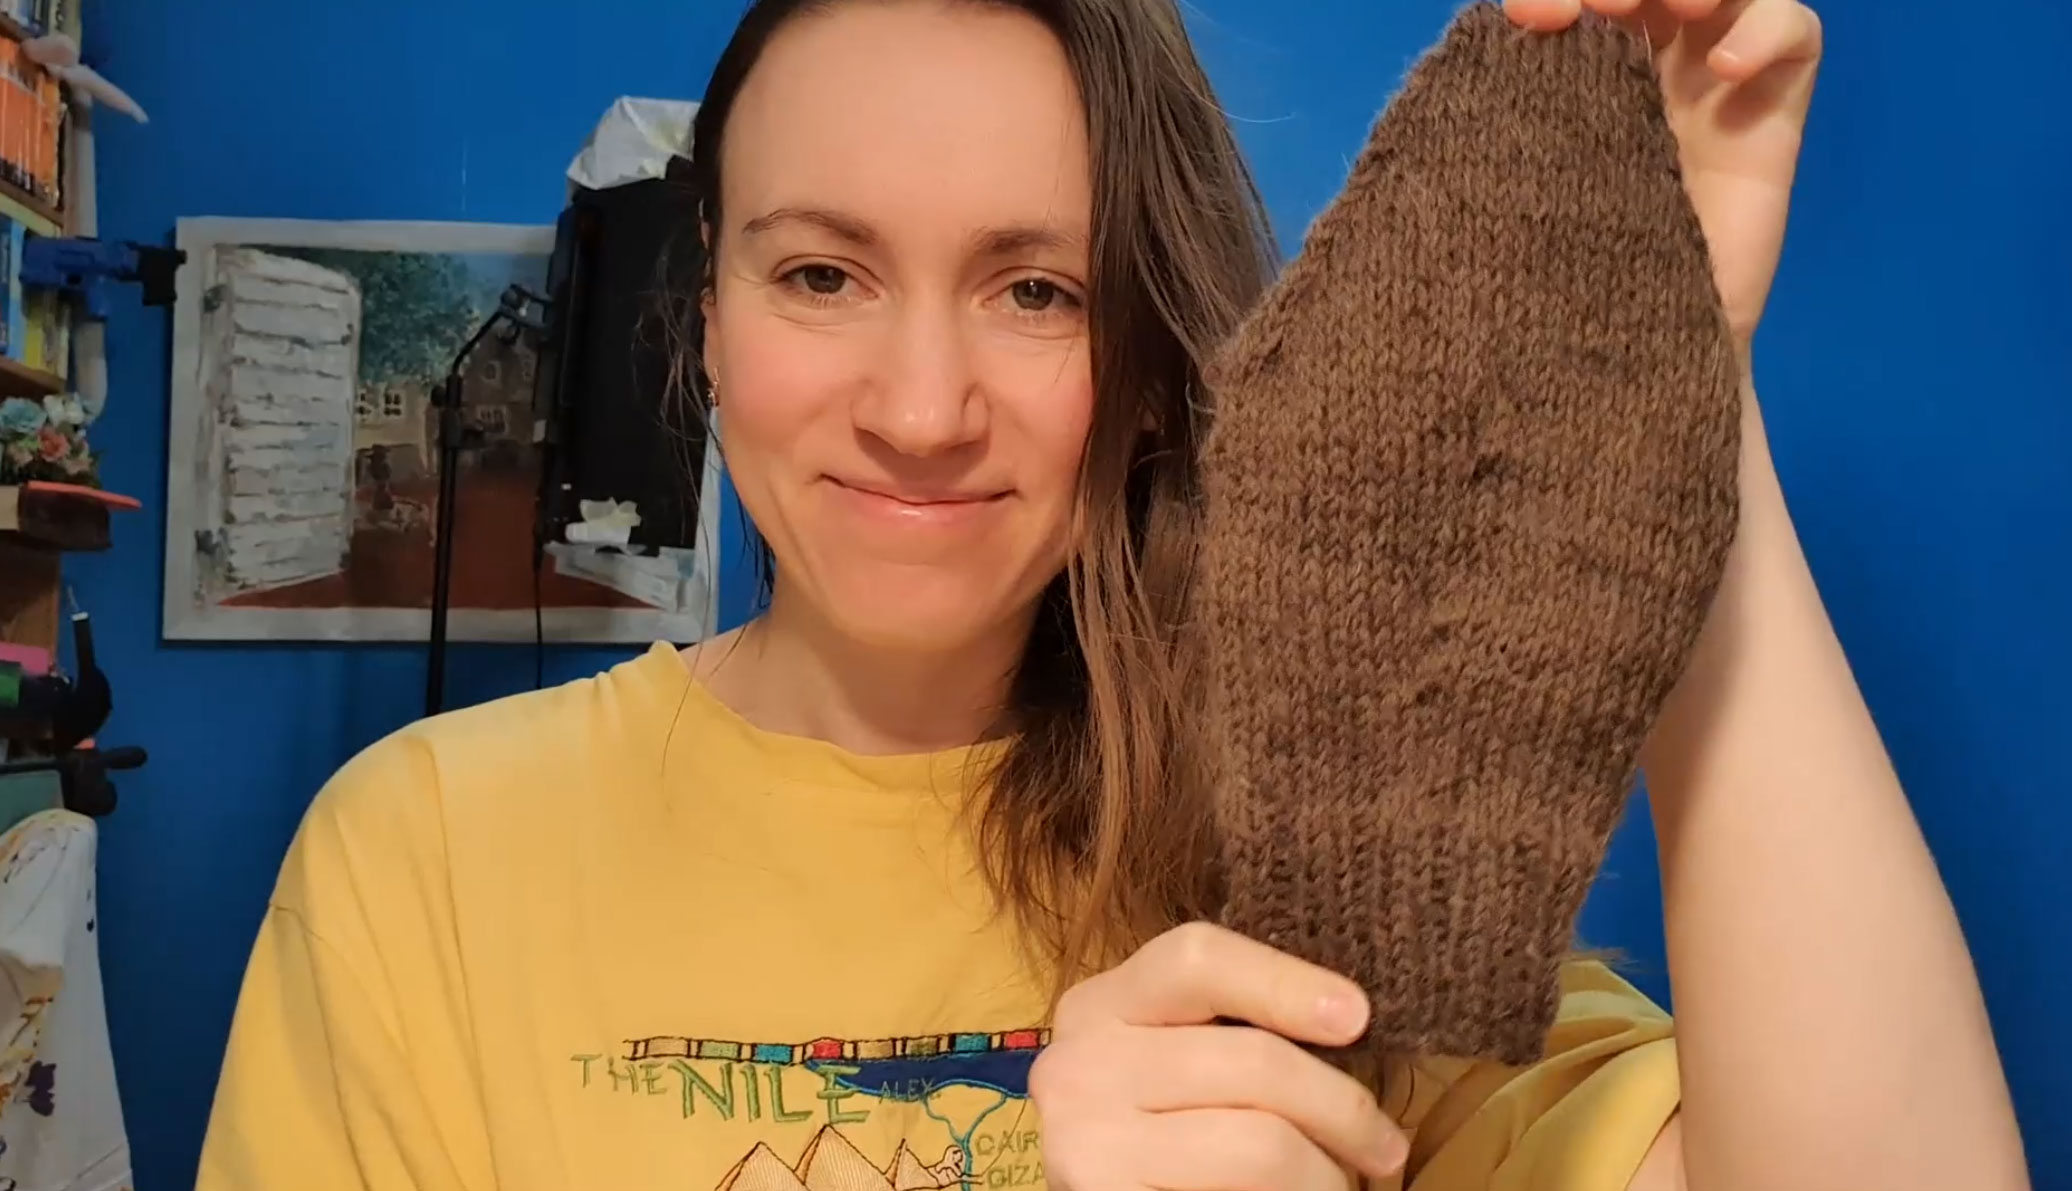
Hello, today we will knit such cool mittens – they are without fingers, they are warm in winter, hands can be folded into a fist.
I have a small hand, so all calculations are based on my size. If you have larger hands, then increase the number of loops and rows. To begin with, we collect 40 loops in the usual way:
https://youtu.be/wx14Pcg9THE
I talk more about the beginning of knitting in the first video. We start knitting with an elastic band 2 by 2: two front loops, two reverse ones. How an elastic band is knitted is also shown in past videos. We knit an elastic band of such length as you like. I made myself about six centimeters. Don’t forget to try on the mittens as you go, and once you’re happy with the elastic, it’s time to add loops to expand the mitten.
https://youtu.be/Ty5XUniPbtI
There are many ways to add loops, I’ll show you my favorite. First, we knit the usual straight loop. But wait, do not remove the thread from the knitting needle after we have knitted the first loop. The feint begins with the ears: we take the thread, throw it forward, lower it a little crosswise, then put the knitting needle into the next loop as if it were reverse and knit this tip back. And now we remove the loop. You see, from one loop it turns out as many as two. This method is great for mittens because it doesn’t create any holes while knitting.
We extend the mitten to the widest point of your hand – this of course depends on the shape of your palm. I chose this method for myself: I add one loop on each knitting needle in one row, and then I knit the rows with the usual straight loops. Thus, we have an extension in the form of a trapezoid. And do not forget, by the way, to add a marker to the front side – this marker helps me a lot to understand where I started knitting. I use an earring as a marker.
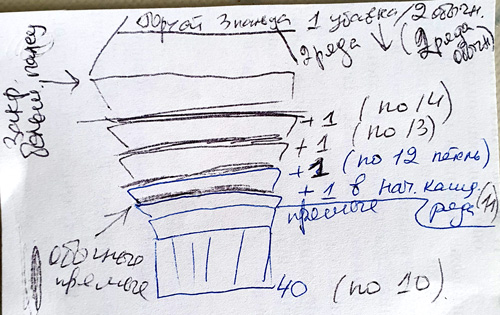
As soon as I knitted to the point that my little finger closed, it’s time to start decreasing the loops, that is, narrowing our mitten from above. Loops can be reduced by tilting to the right or tilting to the left.
https://youtu.be/LjjTw3InmTU
To make a slope to the right, we simply knit two loops as a regular straight loop, and from the two loops we get one with a slope to the right. To make a decrease of loops with a slope to the left, we first remove the loop as if it were a regular one, and then take the next loop and knit it as a straight line. We already have two loops on the knitting needle, and now we take the first of these loops, hook it with a knitting needle, remove it, dragging it over the second loop. We decrease one loop on the sides to create a corner.
I developed the following scheme for myself: two rows of decreases and two rows of ordinary straight loops. So I knit almost to the end. At the very end, I do 1 decrease and two regular rows. When there are very few loops left, we can simply sew the tip with a snake. For stitching, it is convenient to use special thick needles for knitwear. I ordered mine on aliexpress, the link is in the description of the video. You can sew on knitting needles or get the knitting needles and sew loose loops. We remove the tip of the thread inside the mittens and fasten it with a crochet hook.

Hooray! Our mittens are ready. These mittens are perfect for a very cold winter, when you want to keep all your fingers together to keep warm. A simple design allows you to knit such mittens in just one evening.
Have a warm walk!
https://youtu.be/2rzbphF_xRg